Proxmox LXC
July 2, 2024

The primary usage for Proxmox Virtualisation Environment is, unsurprisingly given the name, virtualisation - running virtual machines on host nodes, to make best use of the available resources.
However, for those looking for something more lightweight than VMs, Proxmox does include an additional feature set in the form of LXC - Linux Containers.
Whilst Docker container storage is immutable, with only mounted files, folders and volumes changing and persisting between container runs, LXC’s storage differs, and consists of one or more mounted volumes which can change and be updated in the same way that a Virtual Machine’s storage can be updated.
As LXC requires less resource overhead than a VM would, it allows the user to get more out of their host resources as more RAM and CPU can be used by the application workload instead of on the OS.
LXC on Proxmox
LXC is enabled by default in Proxmox, and also includes default images that can be downloaded within the UI.
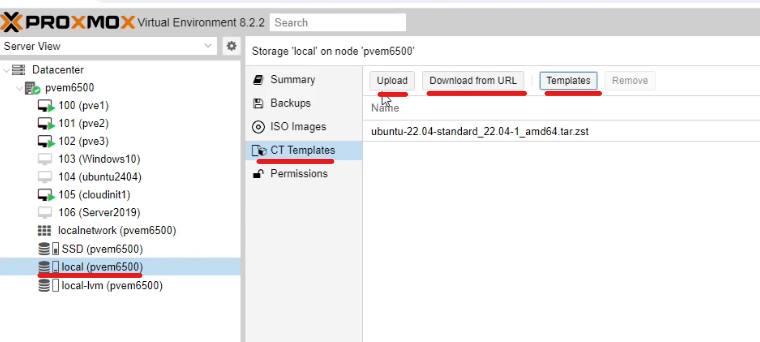
Navigate some of your directory storage, and click on “CT Templates”. You can then either Upload an image to the storage, Download from a URL, or click on “Templates” to show the list of pre-configured template images.
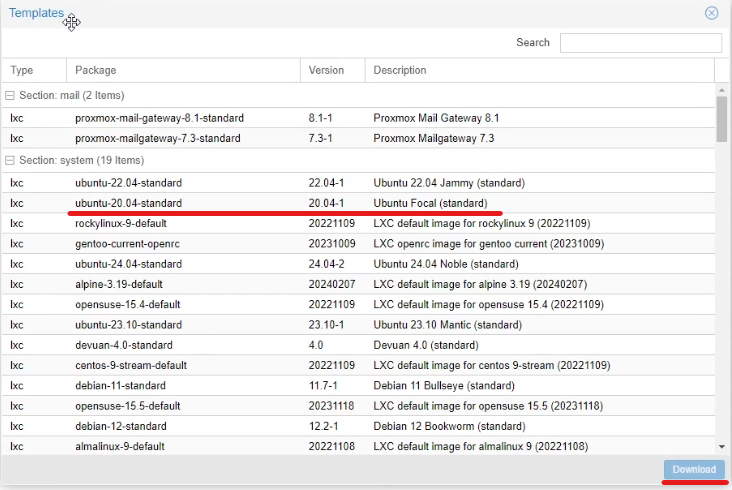
You can choose an image from the list - an Ubuntu image is highlighted in the image below - and click on “Download” to download the image to the local storage.
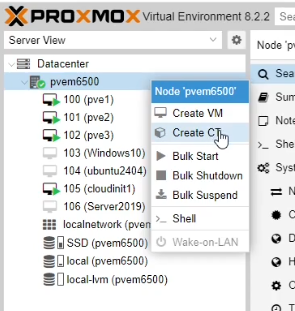
You can now click on the proxmox node, select “Create CT” to create a new LXC container.
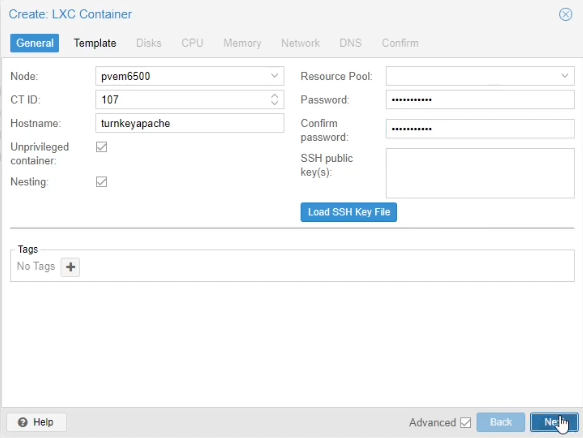
The LXC creation wizard goes through similar options to the VM creation wizard.
Enter a hostname and password. (The default user is root for LXC containers).
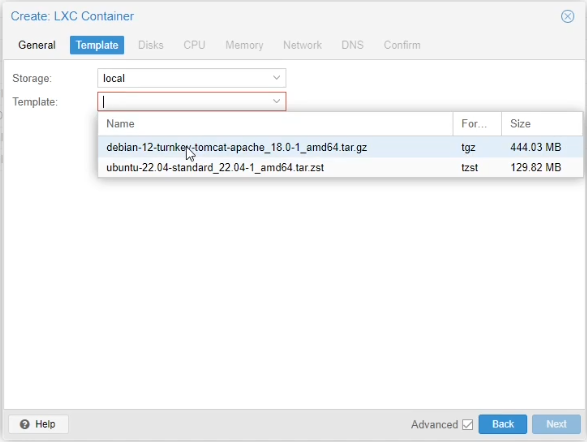
Select the template storage and specific template you want to use.
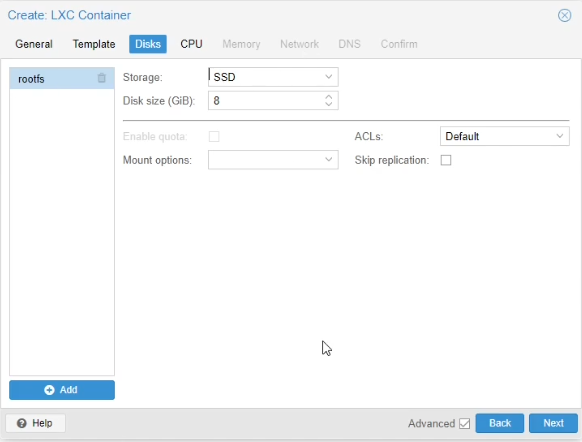
On the disks page, select the target storage, and disk size.
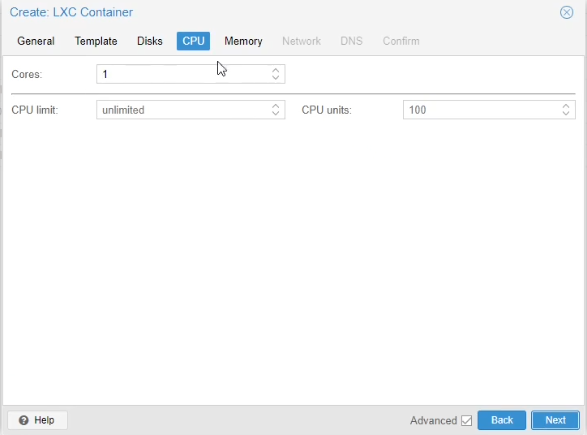
Set the CPU count.
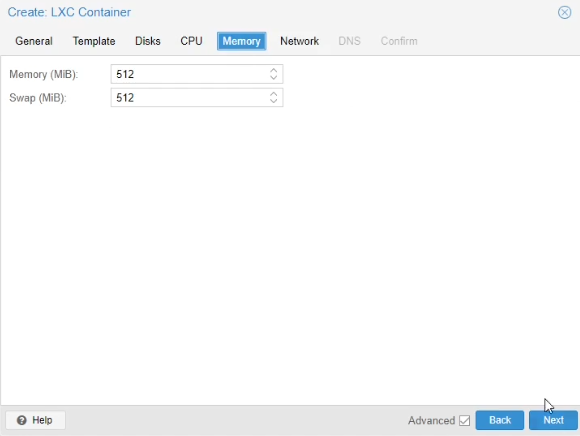
Set the memory and swap memory size.
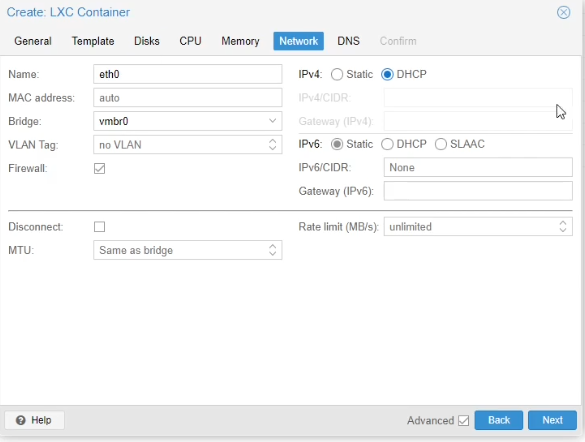
Configure the networking settings.
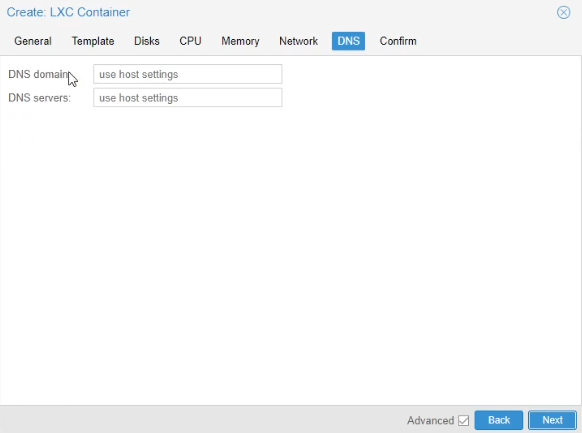
Set the DNS settings or leave these to use the host settings.
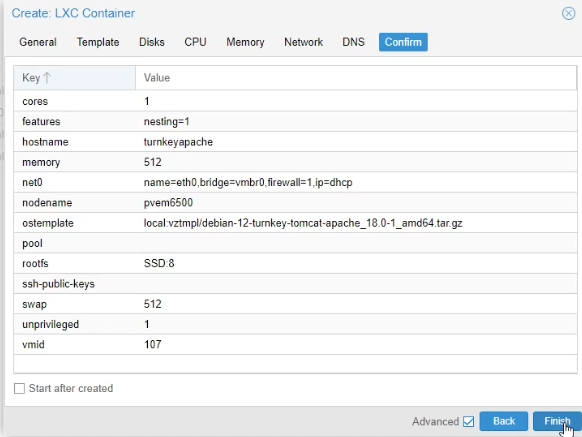
Click finish on the final page to create the container.
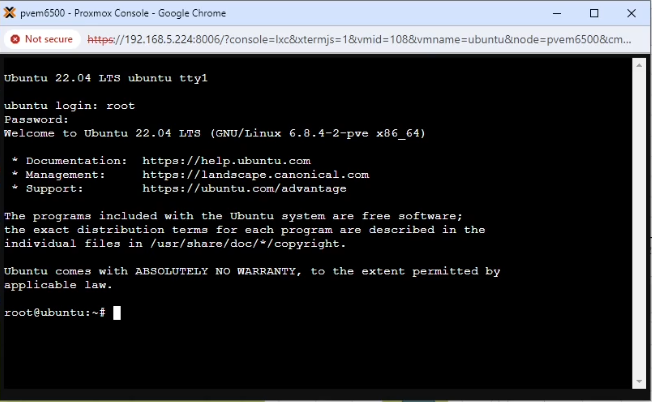
Start the container up and you should be able to login as the root user with the password you configured earlier.
A video demonstration of the built in LXC feature in Proxmox can be found here:
LXC containers can also be customised, allowing you to include your own applications and features within the container.
It is a reasonably straightforward process and is demonstrated in the following video:
The commands used in the video are as follows:
vzdump [ctnumber] --mode stop --compress gzip --dumpdir /var/lib/vz/template/cache

cd /var/lib/vz/template/cache

mv [backupname].tar.gz [newtemplatename].tar.gz

# Customise the values in the [square brackets].